How to set up a diaspora* pod on Debian and Ubuntu

Table of Contents
In this tutorial, we will install a diaspora* pod on a Debian/Ubuntu server. I use the official Debian 8 guide as a base, and I used it myself on Debian 9 for dspr.io, but it should work on most recent Debian and Ubuntu versions.
Our setup will use Nginx, PostgreSQL and Systemd.
Table of content #
Hardware requirements#
Obviously, they depend on the size of your instance and the activity of the users.
For a tiny instance (a few users):
- Memory: 1.5 GB
- CPU: About everything is enough
- Storage: depends on the DB size and the images the users will upload. A few gigabytes are enough to start.
Installation#
Dependencies#
apt install build-essential libssl-dev libcurl4-openssl-dev libxml2-dev libxslt-dev imagemagick ghostscript curl libmagickwand-dev git libpq-dev redis-server nodejsPostgreSQL#
Diaspora* supports MySQL, MariaDB and PostgreSQL. We will use the latter.
Install it:
apt-get install postgresql-serverThen connect to PostgreSQL via the postgres user:
sudo -u postgres psqlCreate a postgresql diaspora user:
CREATE USER diaspora WITH CREATEDB PASSWORD '<password>';We will create the database later.
Creating the diaspora user#
We will install and run diaspora* under this user.
adduser --disabled-login diasporaTo login:
su - diasporaRuby installation#
There are multiple ways to install Ruby. We will use rbenv to manage Ruby versions and environment.
We need these dependencies (run this command as root) to install Ruby.
apt install autoconf bison build-essential libssl-dev libyaml-dev libreadline6-dev zlib1g-dev libncurses5-dev libffi-dev libgdbm3 libgdbm-devLog back to your diaspora user.
Install rbenv:
git clone https://github.com/rbenv/rbenv.git ~/.rbenv
cd ~/.rbenv && src/configure && make -C src
echo 'export PATH="$HOME/.rbenv/bin:$PATH"' >> ~/.bash_profile
echo 'eval "$(rbenv init -)"' >> ~/.bash_profile
Login again to load your new PATH:
exit
su - diaspora
Then, we will install the ruby-build plugin for rbenv that allows us to compile Ruby:
git clone https://github.com/rbenv/ruby-build.git ~/.rbenv/plugins/ruby-buildWe can now install Ruby!
rbenv install 2.4.3
rbenv global 2.4.3
The diaspora* project recommends the 2.4 branch. Ruby 2.5 has been out for a few weeks but I got issue running diaspora* with it, so I recommend sticking with 2.4 for now. Please check here if 2.4.3 is the latest 2.4.x when you're reading this tutorial.
Install exim4#
I use exim4 as a SMTP relay.
As root, install the package, and then configure it. It's pretty straightforward.
apt install exim4
dpkg-reconfigure exim4-config
Download diaspora*#
It's time!
Download the diaspora* source code and get into the directory:
cd ~
git clone -b master https://github.com/diaspora/diaspora.git
cd diaspora
Configure diaspora*#
Copy the example files:
cp config/database.yml.example config/database.yml
cp config/diaspora.yml.example config/diaspora.yml
They are quite long but well commented. Please read them.
In config/database.yml, set your PostgreSQL user (diaspora) and the password you chose. PostgreSQL is selected by default so you don't need to do anything else.
You will need to configure more stuff in config/diaspora.yml.
Here are the lines I changed for dspr.io:
configuration:
  environment:
    url: "https://dspr.io/"
    certificate_authorities: "/etc/ssl/certs/ca-certificates.crt"

  server:
    rails_environment: "production"

  statistics: #enable public stats
    user_counts: true
    comment_counts: true

  settings:
    liberapay_username: "angristan"
    captcha:
      enable: false #disabling captcha because of imagemagick issues
    terms: enable:true
    source_url: "https://github.com/diaspora/diaspora/"

  mail:
    enable: true
    sender_address: "contact[at]dspr.io"
    method: "sendmail" #exim4

  admins:
    account: "angristan"
    podmin_email: "angristan[at]protonmail.com"

  relay:
    inbound:
      subscribe: true
      scope: all
A lot of options are fine by default.
Install bundle and the gems#
Install bundle, a Ruby libraries manager:
gem install bundler
script/configure_bundler
If you run into issues regarding your Ruby version, just edit the .ruby-version file and put yours.
Then install all the gems:
bin/bundle install --full-indexSetup the database#
This rake command will create and setup the database:
RAILS_ENV=production bin/rake db:create db:migratePrecompile assets#
This rake command will generate static assets:
RAILS_ENV=production bin/rake assets:precompileSystemd services#
There are mulitple ways of managing diaspora* as a service. We'll use systemd.
Create the following files:
/etc/systemd/system/diaspora.target
[Unit]
Description=Diaspora social network
Wants=postgresql.service
Wants=redis-server.service
After=redis-server.service
After=postgresql.service

[Install]
WantedBy=multi-user.target
/etc/systemd/system/diaspora-web.service
[Unit]
Description=Diaspora social network (unicorn)
PartOf=diaspora.target
StopWhenUnneeded=true

[Service]
User=diaspora
Environment=RAILS_ENV=production
WorkingDirectory=/home/diaspora/diaspora
ExecStart=/bin/bash -lc "bin/bundle exec unicorn -c config/unicorn.rb -E production"
Restart=always

[Install]
WantedBy=diaspora.target
/etc/systemd/system/diaspora-sidekiq.service
[Unit]
Description=Diaspora social network (sidekiq)
PartOf=diaspora.target
StopWhenUnneeded=true

[Service]
User=diaspora
Environment=RAILS_ENV=production
WorkingDirectory=/home/diaspora/diaspora
ExecStart=/bin/bash -lc "bin/bundle exec sidekiq"
Restart=always

[Install]
WantedBy=diaspora.target
Enable the services at boot:
systemctl enable diaspora.target diaspora-sidekiq.service diaspora-web.serviceRestart the services:
systemctl restart diaspora.targetCheck if they are running correctly:
systemctl status diaspora-web.service
systemctl status diaspora-sidekiq.service
Nginx reverse proxy#
We will use Nginx as a reverse proxy for HTTPS and serving static assets.
I used acme.sh to get a Let's Encrypt certificate.
After installing it, run:
./.acme.sh/acme.sh --issue --dns -d dspr.io -d www.dspr.io --keylength ec-256 --cert-file /etc/nginx/https/cert.pem --key-file /etc/nginx/https/key.pem --fullchain-file /etc/nginx/https/fullchain.pem --logInstall Nginx:
apt install nginxHere is my /etc/nginx/conf.d/dspr.io.conf file:
upstream diaspora_server {
  server unix:/home/diaspora/diaspora/tmp/diaspora.sock;
}

server {
  listen 80;
  listen [::]:80;
  server_name www.dspr.io dspr.io;
  return 301 https://dspr.io$request_uri;

  access_log /dev/null;
  error_log /dev/null;
}

server {
  listen 443 ssl http2;
  listen [::]:443 ssl http2;
  server_name www.dspr.io dspr.io;

  if ($host = www.dspr.io) {
    return 301 https://dspr.io$request_uri;
  }

  access_log /var/log/nginx/dspr-access.log;
  error_log /var/log/nginx/dspr-error.log;

  ssl_certificate /etc/nginx/https/fullchain.pem;
  ssl_certificate_key /etc/nginx/https/key.pem;

  ssl_protocols TLSv1.2;
  ssl_ciphers EECDH+CHACHA20:EECDH+AESGCM:EECDH+AES;
  ssl_ecdh_curve X25519:P-521:P-384:P-256;
  ssl_prefer_server_ciphers on;
  ssl_stapling on;
  ssl_stapling_verify on;
  resolver 80.67.169.40 80.67.169.12 valid=300s;
  resolver_timeout 5s;
  ssl_session_cache shared:SSL:10m;

  root /home/diaspora/diaspora/public;

  client_max_body_size 5M;
  client_body_buffer_size 256K;

  try_files $uri @diaspora;

  location /assets/ {
    expires max;
    add_header Cache-Control public;
  }

  location @diaspora {
    proxy_set_header X-Real-IP $remote_addr;
    proxy_set_header X-Forwarded-For $proxy_add_x_forwarded_for;
    proxy_set_header X-Forwarded-Proto https;
    proxy_set_header Host $http_host;
    proxy_redirect off;
    proxy_pass http://diaspora_server;
  }
}
Of course, adapt it to your domain.
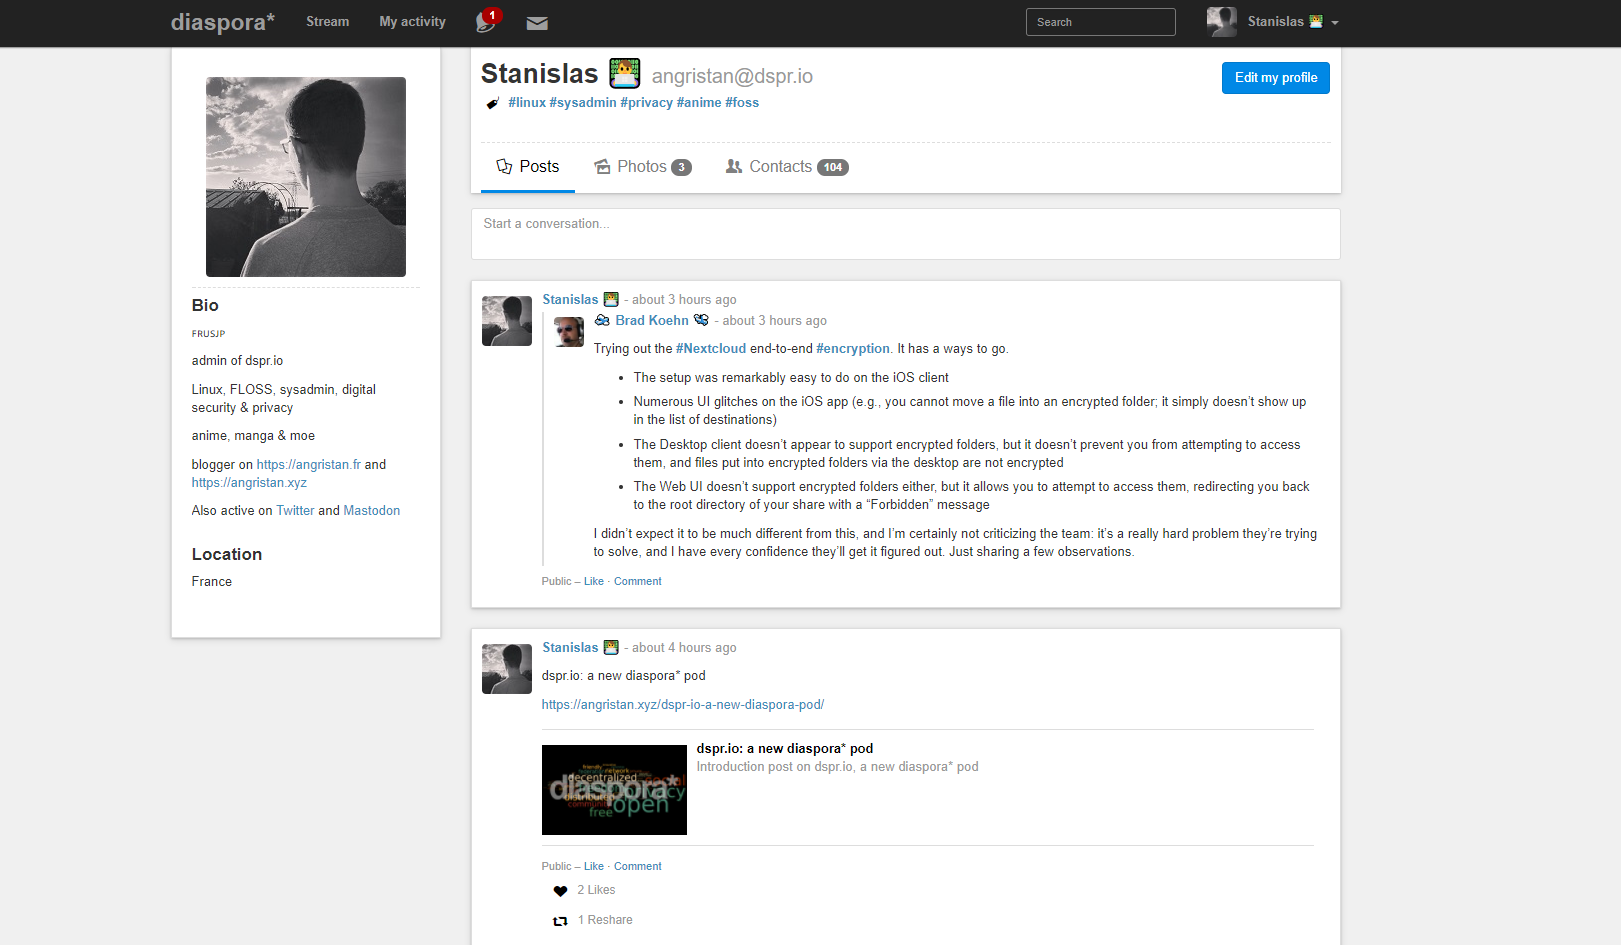
Your pod should now be accessible!
Logrotate#
Add this in /etc/logrotate/diaspora
/home/diaspora/diaspora/log/*.log {
  notifempty
  copytruncate
  missingok
  compress
  weekly
  rotate 52
}
This will rotate your logs every week, compress them, and keep them for 52 weeks. You can tune this as you want.
Admin stuff#
After signing up you should make yourself an admin:
Role.add_admin User.where(username: "the_username").first.personYou should now have access to your admin dashboard at https://<diaspora>/admins/dashboard, and a bunch of options.
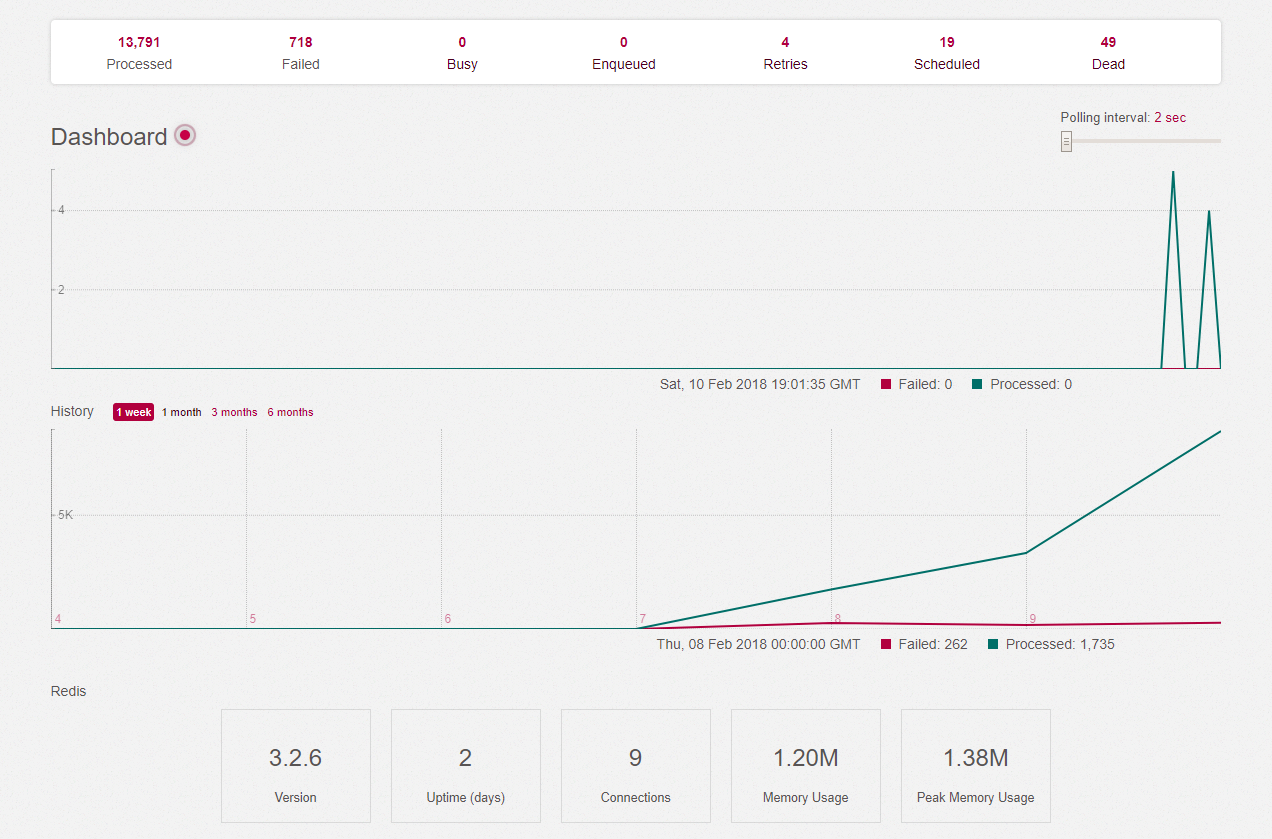
Sidekiq, which is the software that handles background tasks, is available at https://<diaspora>/sidekiq.
Pod stats are available at https://<diaspora>/statistics.
Add your pod to https://podupti.me/ and https://the-federation.info/!
Update diaspora*#
The basics:
apt update && apt full-upgradeIf you need to update Ruby, just run rbenv install again with the new version.
You have multiple ways to verify the installed and used Ruby version:
diaspora@dspr:~$ rbenv version
2.4.3 (set by /home/diaspora/.rbenv/version)
diaspora@dspr:~$ rbenv versions
* 2.4.3 (set by /home/diaspora/.rbenv/version)
diaspora@dspr:~$ ruby -v
ruby 2.4.3p205 (2017-12-14 revision 61247) [x86_64-linux]
Then it's similar to the install process.
Update the source code:
su - diaspora
cd diaspora
git pull
Update the gems:
gem install bundler
bin/bundle --full-index
Update the database and compile the assets:
RAILS_ENV=production bin/rake db:migrate
RAILS_ENV=production bin/rake assets:precompile
Restart diaspora* (as root):
systemctl restart diaspora.targetBackup#
It's easy. Make a dump of your database:
sudo -u postgres pg_dump diaspora_production > diaspora.sqlAnd backup your /home/diaspora/diaspora folder. Technically, just public/uploads is enough.
Make sure to automatize the process and to back up to another location!
Enjoy!#
That's it, you're ready to interact with the fediverse!
I'm angristan@dspr.io, I'd be glad if you shared with me. :)